Fill lighting is something every camera user will, or should, be familiar with. However there is a flip side to it, the negative fill, and it can be a very useful tool to have.
I've been hearing cinematographers and photographers advising against using fill light lately, because they say that it makes for flat images.
This is not the case.
The purpose of fill light is not to “fill in” shadows, contrary to an increasingly popular belief. The point is to control how dark the shadows on a subject are. Since film is a two-dimensional medium, a face without shadows tends to look fairly flat, and shadows help to define the three dimensional shape of a subject.
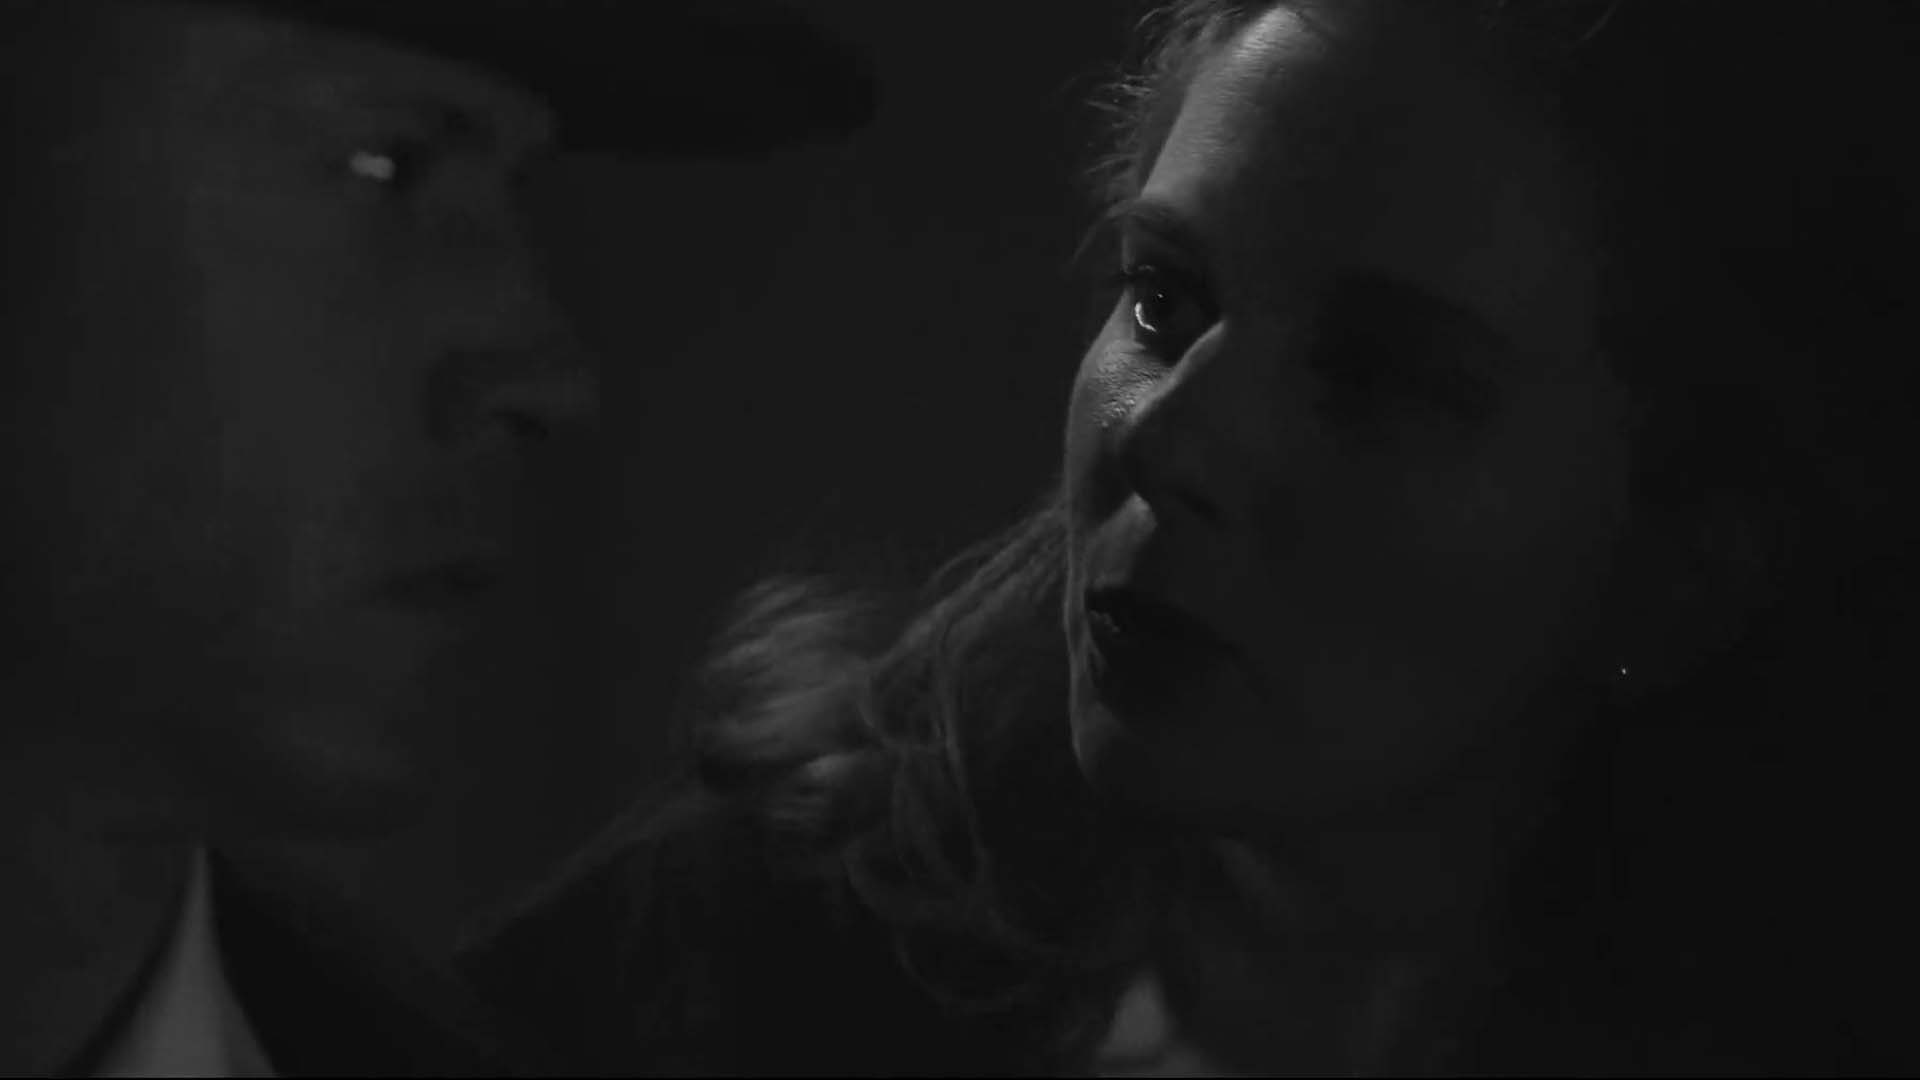
How dark the shadows are influences the mood of the shot; subtle shadows one or two stops darker than the highlights can reveal the shape of a subject while providing a cheerful mood, good for beauty shots, and pretty common in interviews. Drop the shadow levels to four stops, and the result becomes more dramatic or even menacing. Darker still and details begin to disappear into the shadows, adding an air of menace or mystery.

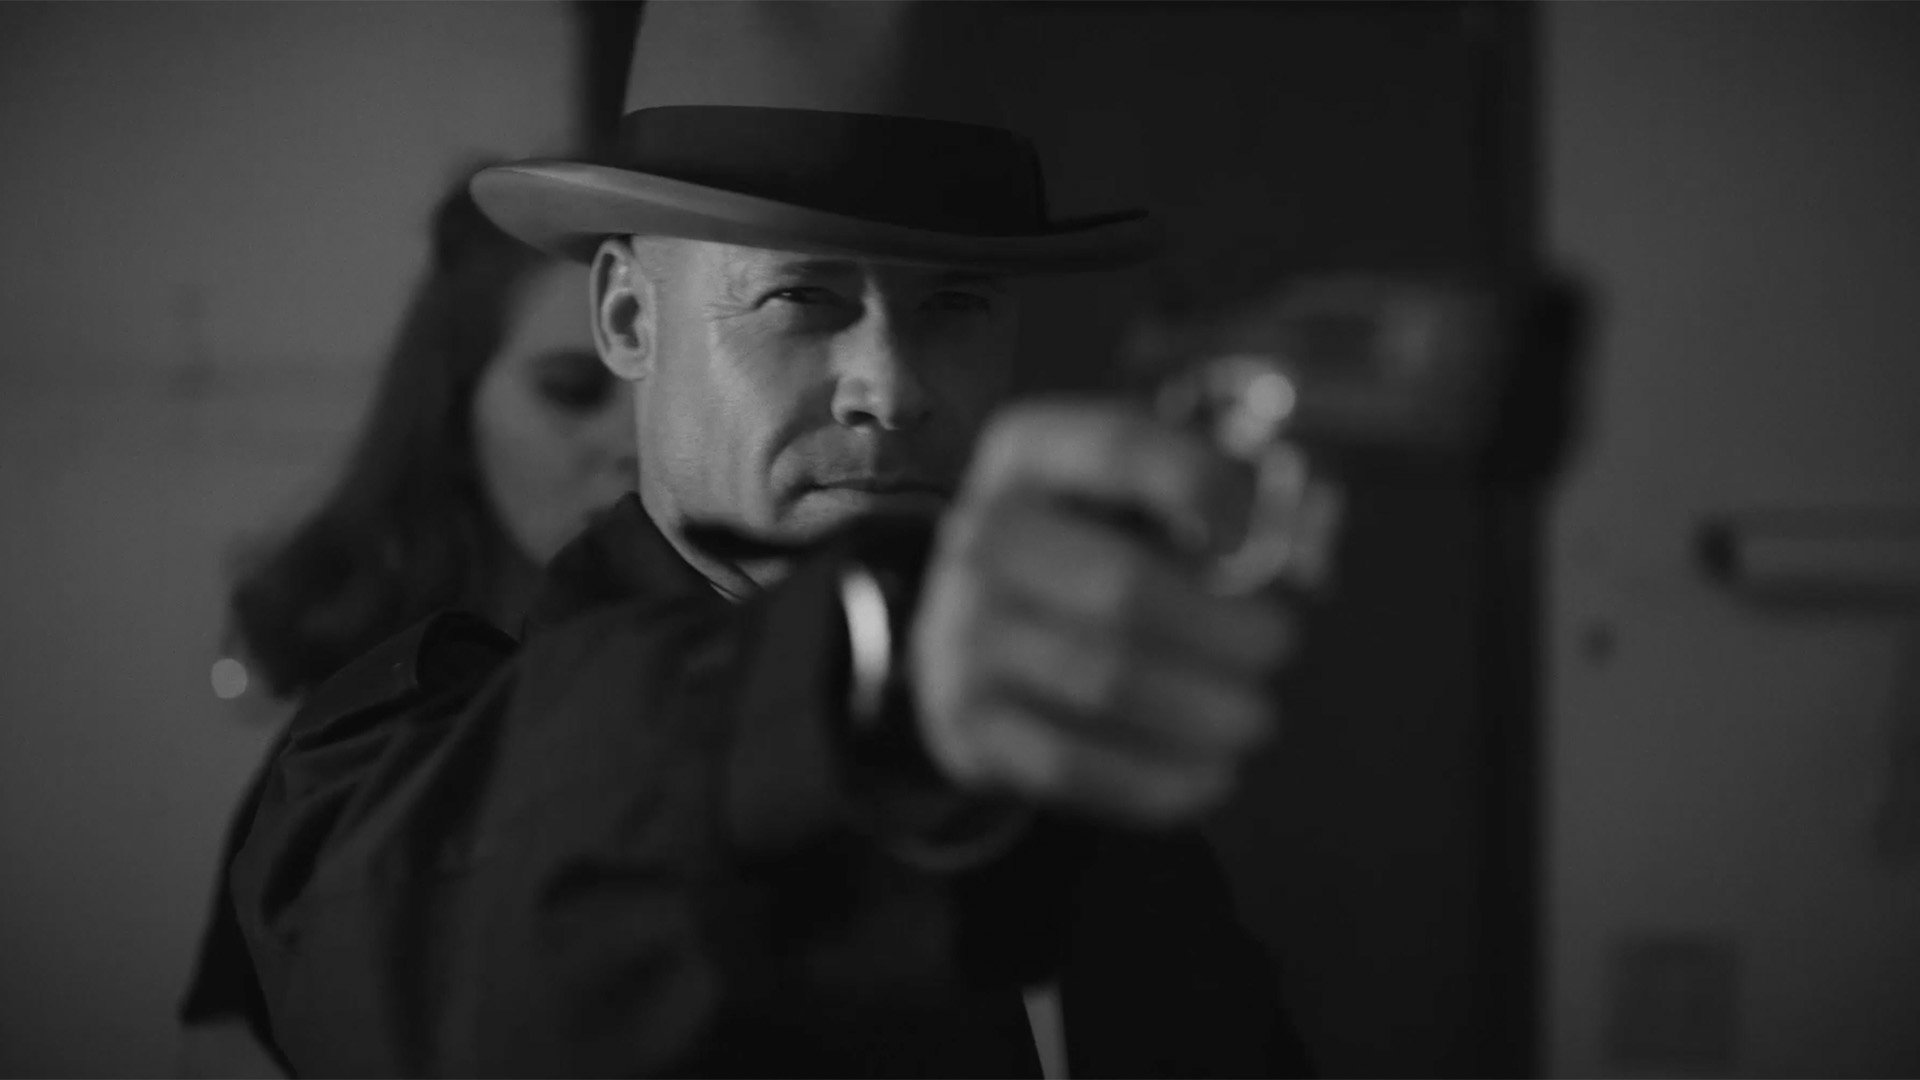
Negative bounce being used for a film noir.
Bounce cards
Using a bounce card or the soft white surface of a 5-in-1 reflector is both an economical and an elegant way to implement a fill light. It's by nature less bright than the key light that it's reflecting onto the subject, and it's a relatively large surface, leading to a soft fill light that looks natural.
Now when filming in a small room where the walls are painted white, just one light can be enough to fill. The room with even and therefore flat light and unflattering.
Bring in a bounce card as before, but this time use one that is matte black to absorb rather than reflect light onto the subject, deepening the shadows. A larger negative fill can also flag off more ambient light than a smaller one, further increasing contrast.
For one scene I was filming for a noir film, we were working in a small kitchen with bright white walls. We added a negative fill on the shadow side of our actor, and supplemented it with an additional negative fill on the key light side to take some of the light off of the walls. By arranging it so that the actor moved from the flat light into the negative fill, the contrast on his face deepened as he moved for a character reveal.
For interviews and closeups a black bounce card is often enough, but for an entire scene it might simply be too small. A good alternative is to use a dark cloth to cover a good portion of one wall, effectively removing bounce fill from that side of the scene and thereby adding contrast.
The easiest way to learn how to use negative fill light and how it looks is to get a subject, sit them in a chair, and just experiment. Use a bounce card to experiment, and when on set scale it up to fit the scene, if the scene needs additional contrast. While it's not something that you'll use on every production, it's a useful tool to have in the toolbox.
Tags: Production Lighting cinematography


Comments