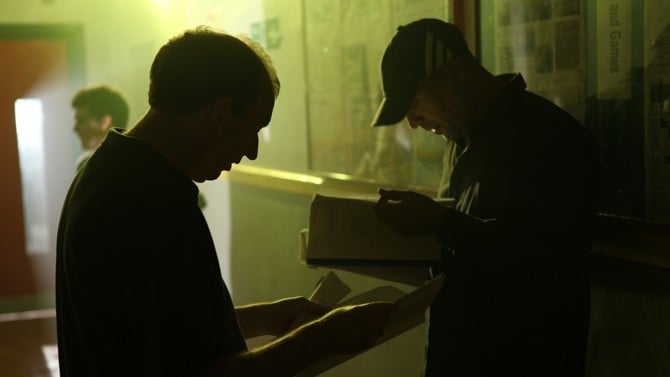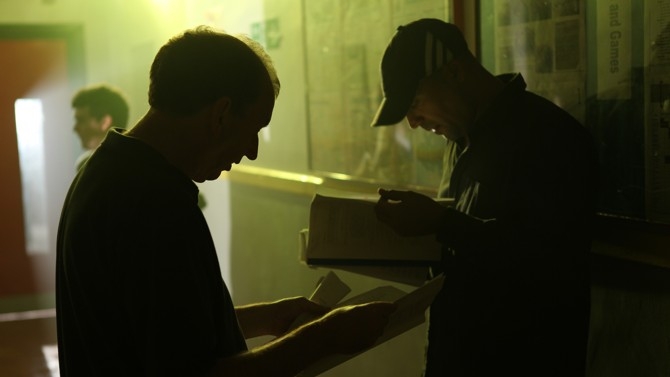
 David Read in Silhouette
Experienced Director of Photography David Read sheds some illumination on the most basic - but most essential - terms in the art of lighting.
I’ve been a Director of Photography for some 25 years, and when someone asks me “How do you go about lighting a scene?”, or even “Where do you start?”, I’m tempted to say: “put a light here and a put a light there and then press the button on the camera”. You may think I’m being flippant but honestly it’s kind of the way I think, I don’t liked to get bogged down in technicalities - I just like to light.
But, hang on a minute, I must have a more structured thought process than that when I’m lighting! I’ve been asked several times to run a Cinematography course and never managed to find time - so perhaps now, in this series of articles, would be a good time for me to analyse what I do.
Key decisions
For me, the first thing is determine where your key light is going to be. It’s not called a Key light for nothing: it’s the main source of lighting in the scene. If you think about daylight exteriors the main source is the sun, so that’s your Key. With interiors it’s often light coming through windows or from overhead lights. You can probably think of many more light sources: firelight or candles for instance. So when you’ve decided what your Key is you set the light in roughly the right position – e.g. through the window – and then observe how the light falls on the set. I you like the way it does, fine, if not move it until you do. Always remember to take into account the action going on in the space and make sure it’s illuminated as you like, there’s no problem using more than one Key light if you need.
Having established your Key light position you just need to think about whether you want the light soft, or hard, and if you want to put any coloured gels on it. Often lights will be gelled in order to give them all the same colour temperature. I sometimes like to leave the colour of the lights as they are and not balance them. For example, if you have daylight coming in and you’re using tungsten lighting on the actors face I like to balance the camera for daylight and let the tungsten light remain unbalanced and this can give a nice warmth to the scene.
Filling up
When you’ve finished with the Key light set, it’s time for the Fill light. This light does what it’s name suggests: it fills in the shadow area. You don’t have to have a Fill light but often shadows are too dense and they need lightening. You don’t have to use another light for this - you can just use a reflector to bounce back some of the light from the key. It’s then just a question of how much you wish to lighten the shadow. No rules here, just what you think looks right.
Now for the Backlight. As the name suggests its purpose is to backlight the person or object. To me this is often the most artificial of lights and I think it has to be used carefully. There’s no doubt that backlighting hair looks good and if there’s a glass of wine or beer backlighting looks great; bear that in mind if you’re doing a drinks commercial.
Practical considerations
Other lighting to consider is any Practicals; these are light sources that are in actually in the shot, they can be lamps, fires, torches and the like and they all have an impact on the way the scene looks and should be taken in to consideration.
So there you are: that’s the basics. Of course there are other elements to be thought about such as the lens and F-stop you’re using. Filters are another way of manipulating the image, and then there’s camera movement, final grading and using lighting effects like flickering or lightning strikes and so on. I plan to write about these in a future article.
Learning to trust
You must learn to use and trust your eye. The more you photograph the more you should be able to judge the scene with your eye alone. Once I’ve established my key lights and got my F-stop I pretty much do all the rest by eye.
Here’s a couple of tips that I was given that have helped me. One is from the late, great Jordan Crononweth:
“It’s not what you light; it’s what you don’t light that’s important”.
So true. Anyone can light up a whole scene but the great cinematographers really do paint with light and shade, creating shadows of differing intensities that bring atmosphere and substance to the various elements in the picture. The other tip is from John Metcalfe, a cameraman I used to assist, who told me:
“Trust your first instincts - they’re always your best".
Again it’s so true; you can easily spend too much time on set, and if you’re like me you end up fiddling with lighting and destroying your original intentions.
Always remember that technicalities can be learnt but the real art of lighting is the result of your eye and your instinct. Trust them. They’re the best tools you have.
David Read GBCT
Tags: Production


Comments