Following his epic 415km cycle tour around an Indonesian island, Josh Edwards is here to tell you how he filmed it all to create a YouTube travel series.
Now that the clocks have finally gone forward here in the Northern hemisphere, it feels like a good time to run this piece from Josh Edwards that he sent in over the dark winter months about filming an epic bike tour around the Indonesian island of Lombok. Not that we are suggesting that too many of you will be looking to do the same, but it contains some great advice for anybody looking to capture an off grid adventure, on two wheels or otherwise.
Take it away Josh...
One man and his bike
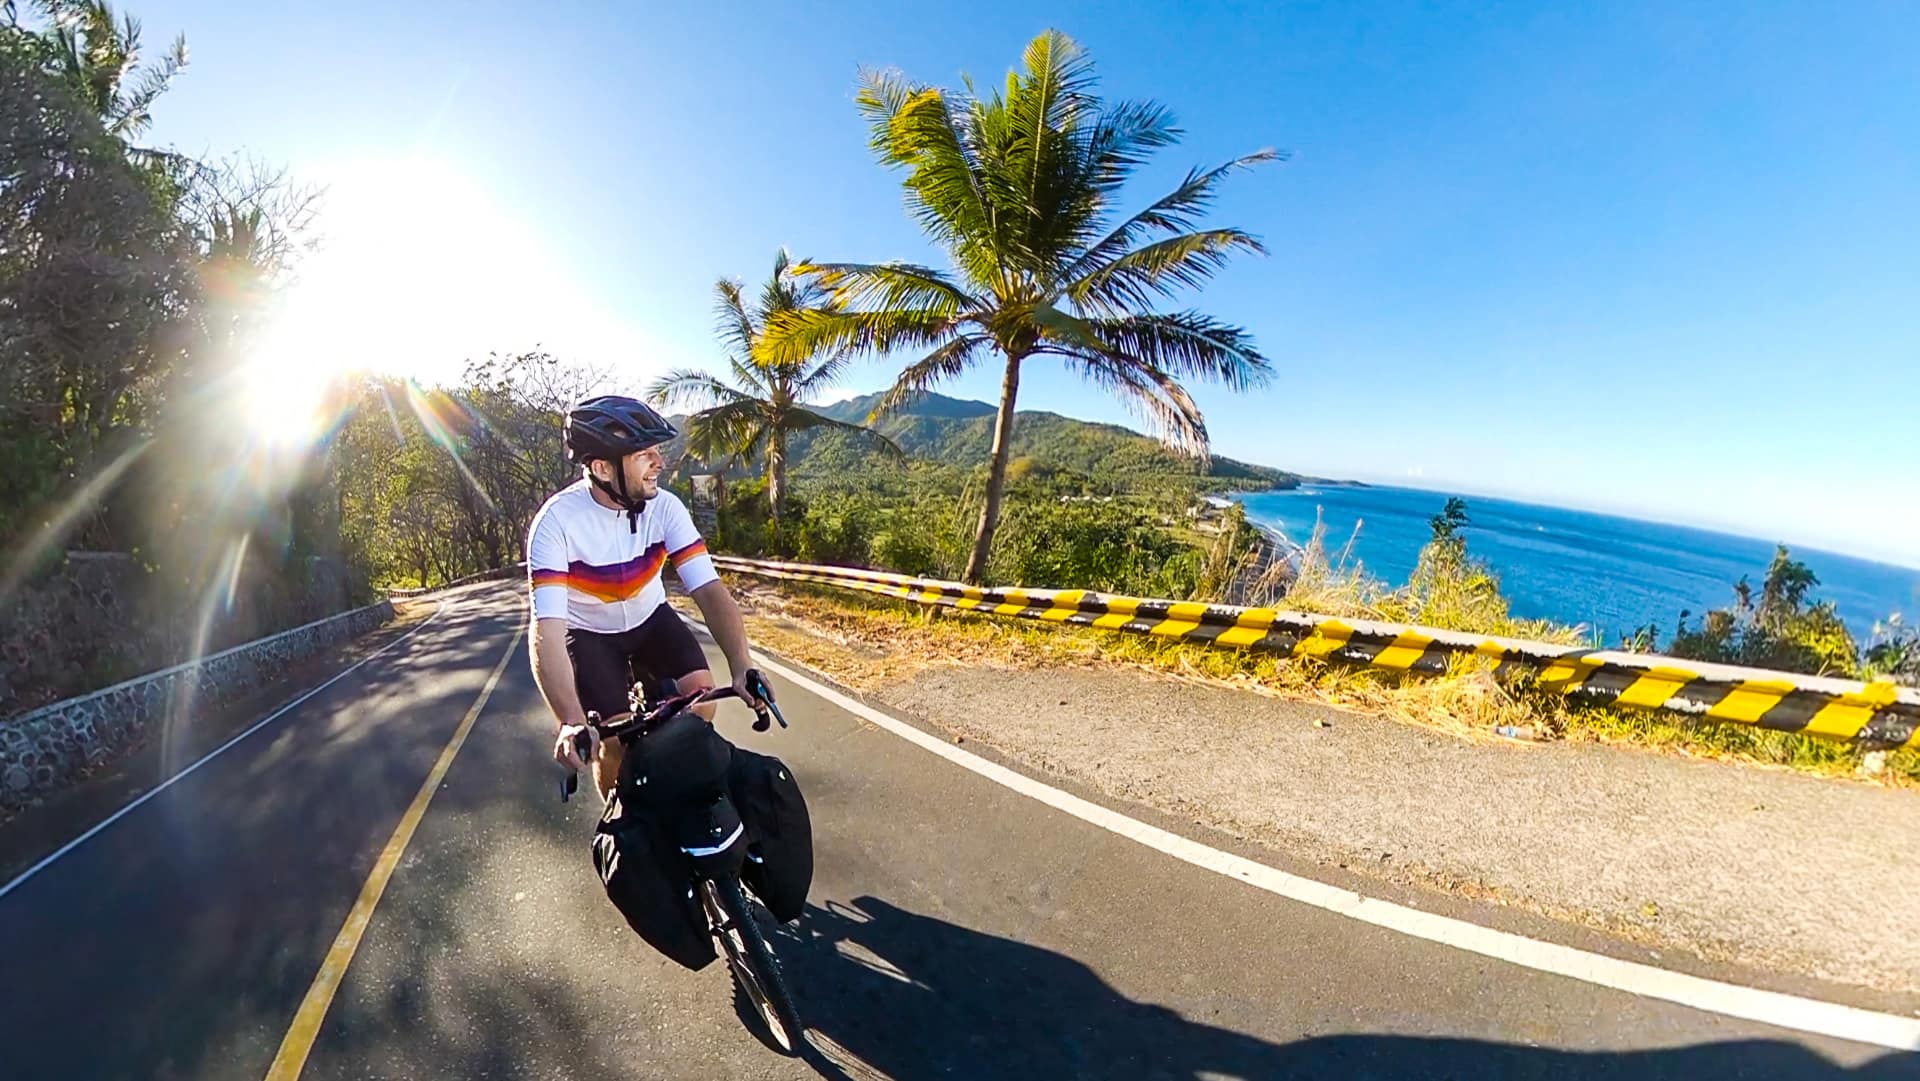
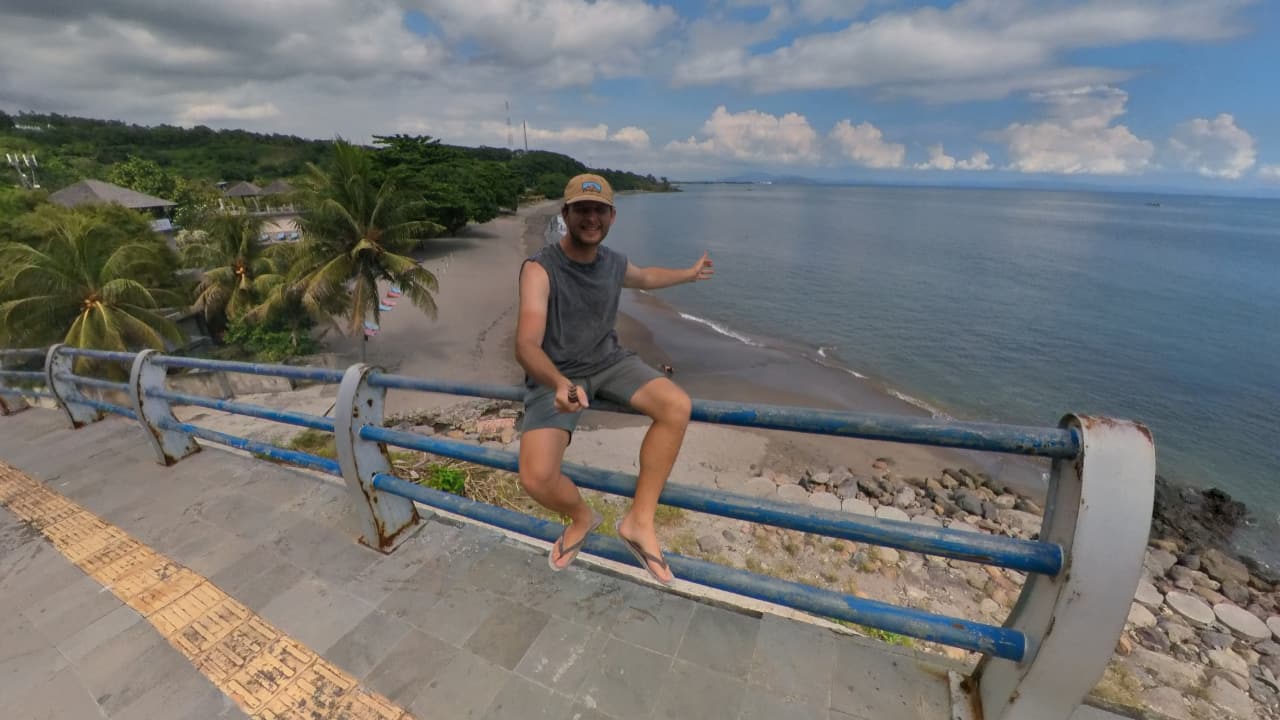
Six days and 415km later, I’m a bit knackered, to be honest. I’ve just completed my very first bike tour, circumnavigating the Indonesian island of Lombok, one stop east of Bali. From majestic beaches to serene waterfalls, tropical rainforests and Indonesia’s second tallest volcano, it’s an adventure I won’t forget anytime soon - not least because I filmed it all.
The link to the full 6 episode playlist is here.
Whilst on the road, I shot every part of this adventure and created a YouTube travel series out of it. I learned a fair bit along the way and figured that this kind of knowledge may well prove useful for other aspiring, cycling filmmakers out there - and anyone else who's planning on venturing off grid and carrying their kit with them. So, here’s everything you need to know about how to film your bike touring adventure.
Below, I’ve got the 101s as well as a breakdown of every camera I took with me and why.
Cycle tour filming - the 101s
Pack as light as possible
This goes without saying, really. You’re going to be the one pushing your bike each and every day, so you want to do yourself a favour and keep things as light as possible. This means being really ruthless with your gear list and cutting everything down to the very bare essentials. I took five cameras (including a drone, and all the batteries) and my bike weighed in at a hefty 30kg. Not great, but manageable.
Don’t worry about quality so much
You’re welcome to disagree with this but I would argue quality doesn’t matter so much when capturing a trip like this. Linking in to the idea above of packing as light as possible, the higher quality your image, the heavier and larger the camera (that’s a general rule of thumb). Now, I’m not saying you should film everything on a potato, but I was more than capable of telling a great story using small, compact, lightweight cameras such as the Sony ZV-1, GoPro Max and GoPro Hero Black 7. They might not produce the greatest images on earth, but they suit this particular task well.
Switch up the angles
If you want to try and keep your story engaging and interesting to watch, you need to switch up the angles. Filming myself cycling with a 360 camera up front would have been okay, but cutting in many different angles really elevates the videos. The numerous different shots of the pedalling, the chains and gears, the wheels, the locked-off frames on the side of the road and the drone cinematography all combine to create a much richer, immersive story.
Good audio is everything
When you’re on a bike, the wind is rushing by and a standard in-built microphone may fall short. On a trip like this, good audio is everything. I can highly recommend the RODE Wireless GO II lavs. Even when rushing down huge hills at 70kph, I was able to pick up my voice loud and clear. Whether it’s the RODE Wireless GO II or something else, make sure you invest in a microphone that can give you quality, reliable audio for the whole of your trip.
Ride with two days worth of batteries
When bike touring (even more so when bike packing), there’ll be multiple parts of the trip where you may not have a chance to recharge batteries at the end of the day. Midway through my trip, I stayed on a small island with zero electricity. Fortunately, I had enough batteries to see me through filming 2 full days, ensuring there wasn’t an awkward gaping hole in my narrative.

Fully laden and ready to go
Cameras - what I brought and why
All together, I took five cameras with me to capture the trip. You could argue this was too many (and I thought the same when climbing some of those hills), but each one had a purpose and warranted inclusion.
Panasonic GH5
My reliable, go-to workhorse for years. The GH5 has great battery life, can take a beating, and captures beautiful, cinematic, high-quality 4K images, despite its relatively lightweight and compact size. It was made for a trip like this. Using an Olympus M.Zuiko Digital ED 12‑40mm F2.8 PRO and a Panasonic 35-100mm f2.8 II Lumix G X Vario Power O.I.S. Lens, I was able to capture plenty of cinematic shots that showed off the beauty of the island as I explored it.
Sony ZV-1
This comes everywhere with me thanks to its very small and light size. With Soný’s unbeatable face-detection and ever-reliable auto-focus, I use it for all my pieces to camera, where I move the narrative along, sharing what I’m thinking, how I’m feeling, what I’m smelling and seeing. It also doubled up as a very useful “cockpit camera” that recorded all my audio from the RODE Wireless GO II lav mics.
GoPro Max
Why did I need to record all my audio from the RODE Wireless GO II lav mics, you ask? Well, the GoPro Max doesn’t let you record external audio and the on-board mic is quite frankly terrible. So, everytime I wanted to record a shot with the 360 camera, I had to fire up the Sony as well, then sync the audio while editing (a very tedious process).
That aside, the GoPro Max is a brilliant tool for filming your cycle tour. I really like the unique angle it gives out at the front of your bike, looking back as if someone was filming you. This was my main camera angle whenever I was talking on the bike. It’s hard to underestimate just how useful it is to be able to capture everything all around you while cycling.
For future bike tours, I’ll be switching to the Insta360 X3. Same great 360 shots, with the huge added bonus of being able to record external audio on the RODE Wireless GO II lav mics.
Drone
I took my DJI Mavic 2 Pro with four batteries. Do I regret it? Sort of. Maybe. On one hand, it was a very heavy piece of kit that I could’ve done without. On the other hand, I can’t ignore the fact it adds a lot of polish to my finished videos, showing off the very best of the island and also being a convenient way of masking cuts in pieces to camera. The happy medium here would probably be to take a smaller, lighter drone. The DJI Mini 3 Pro would be ideal, I imagine.
GoPro Hero Black 7
If you’re not bringing along a GoPro on your cycle tour, you’re doing it wrong. Waterproof, bulletproof, this thing is essential. I just happen to have a Hero Black 7 but take your pick. They’re great for getting interesting, wide POV shots, as well as getting low and mounting in tight nooks and crannies on the bike, giving you some interesting close-up shots of the mechanics whirring and spinning away.
Wrapping up
So, that’s everything you need to know about how to film your next bike tour. Of course each and every filmmaker has their own voice and style, but sticking to these rules and ensuring you have the right equipment will give you the best start possible, allowing you to capture the cycling films you always wanted to make.
Oh, and don't forget to stretch...
Tags: Production


Comments