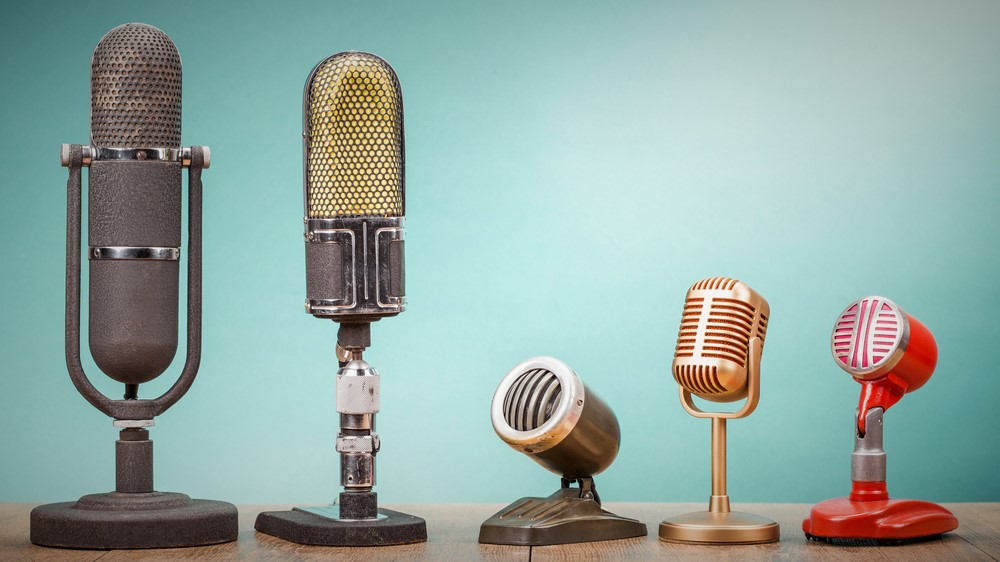
 Vintage Microphones from Shutterstock
Get a few things right and it can make all the difference to your audio recordings
If you know what you’re doing, it’s quite easy to record good audio. But it’s even easier to mess it up if you don’t pay attention to details. And if you get one thing wrong, it’s all wrong. Just a small audio mistake can ruin a whole video.
But if you know what to watch out for, the chances of getting a recording increase massively.
Gain
Just like with video, if you add gain, you’ll also add noise. In an audio recording chain, there are more stages where you can add gain. Sometimes you have to. At the microphone stage, the signal is so tiny that it has to be amplified. To do this, you need a good microphone pre-amplifier to boost the signal up to “line level”, which is the level expected by the rest of the equipment.
And because there’s a lot of amplification needed, the pre-amplifier has to be quiet. Which means it mustn’t generate too much noise. You can test a pre-amp by seeing how far from the microphone it’s possible to move while still recording intelligibly. You’ll have to turn up the gain for this but if the pre-amp is quiet, you’ll be able to go further away than if it’s noisy. Obviously, the room itself has to be outfitted for this. (Don't ever expect good audio performance from DSLR/mirrorless-type cameras. They’re not designed with the primary focus for audio, so it's almost always better to use an external pre-amplifier.)
Assuming you’re able to boost your microphone signal up to line level without too much noise, the next thing to watch for is that you avoid boosting the signal and then attenuating it (reducing the level) afterwards. It’s easy to do this by mistake, if, for example, you have three microphones going into a small mixer which is connected to a camera. If you set the mixer output too low, you’ll end up having to boost the signal with the camera’s audio level control. This is effectively throwing away some of the signal, only to have to boost it again, but you can’t get back what you throw away and the noise will increase. Always aim in a multi-stage system for unity gain - neither cutting nor boosting the signal. This will retain the maximum information and will avoid gain stages which always add noise.
While we’re on the subject of gain, it’s worth remembering that equalisation (EQ) is frequency selective gain, which means that if you boost any part of the spectrum, you will boost any noise present at that frequency too. Boosting EQ can also lead to clipping, especially if you apply it to several tracks at the same frequency. All the “boosts” will add up and can cause the signal to distort
Microphone technique
The best way to avoid noise is to record a good signal in the first place. It’s all about the ratio of the sound you want (someone talking, for example) to the sound you don’t want (environmental noise, reflections off walls, and electronic noise). Technically, you're aiming for the optimum Signal to Noise Ratio.
Get the microphone as close as you can to the person speaking, without it popping or clipping (easy enough to say but can be easy or incredibly difficult depending on the circumstances).
If you have a directional microphone, make sure it’s pointing at the talent. If it’s an omnidirectional microphone (one that picks up from all directions) like a lavaliere, it’s especially important to have it near the speaker’s mouth. Lavallieres tend to encourage you not to do this, but a staggering number of recordings are ruined by the microphone being clipped too low down the shirt or lapel.
Keep it off
Turn off any channels you’re not using. If you’re recording in mono into a stereo recorder (like most camcorders), either turn off the channel you’re not using, or turn the gain down to zero. If you’re going through a mixing desk or device, turn down the gain and the channel faders. Ideally, mute the channel completely. The worst thing you can do is record a single microphone on an eight or sixteen channel mixer, and have all the unused channels still open and injecting noise into the signal path.
Limiters and compression
Limiters are good because they automatically stop a channel going into clipping (the distortion that occurs when the signal is too loud to be recorded accurately). A good limiter will allow you to have the microphone closer to the speaker (or to have more low-noise gain from the microphone pre-amplifier),
Audio interfaces
Audio interfaces for computers are capable of amazing quality are capable of amazing quality, but they can only be as good as the signal they’re fed. Digital audio devices have no “headroom”: they have a fixed range of audio that they can record and if you exceed that you’ll do into clipping. But if you’re too timid about clipping, you might end up recording everything too low.
So you need to know your material. Are there likely to be unexpected peaks? Then you’re going to have to allow for them. Is it going to be fairly even? Then you can afford to record slightly “hotter”, which will give you a better signal to noise ratio.
Limiters (see above) provide some insurance, but use them with moderation.
A very useful trick
If you only need a mono recording of a voice, it’s worth sending the same signal to the right and left channels on the recorder, but making one about 6dB louder than the other. If you do run into trouble with levels, you can always go into an audio editor (or NLE) and substitute the track that’s clipping with the one that’s clean because it was recorded at a lower level. Just do this for the clipping events and it should sound pretty good.
Finally
Noise is always present, whether it’s in the environment, caused by interference, or generated by your equipment. If you get into the habit of maximising the audio you want, and minimising the noise that you don’t want, you’re much more likely to get a recording that’s going to sound good and won’t cause the project to be compromised by the audio tracks.
This article is sponsored by Adorama. Visit Adorama's website for a comprehensive range of audio recording solutions
Tags: Audio


Comments