Replay: Ever wondered how videos are finished in bigger facilities? Here's how it works from the point of view of the Online Editor.
A group of fresh faced college students on a field trip stared back blankly. After a moment of silence a single answer: “Is that when you go from the HD back to the 4K?”
While this answer was certainly not incorrect, it was not entirely specific. Online workflows (also interchangeably referred to as finishing workflows) have always been a very exclusive domain, held tightly by post facilities using fancy hardware to complete a series or film. Over the past few years, the process most certainly has been demystified as edit software becomes more capable and available at lower cost. Still, there is some uncertainty on what exactly happens as a project approaches locked-picture. Let’s walk through key steps that happen in the Online Edit.
Deliverables
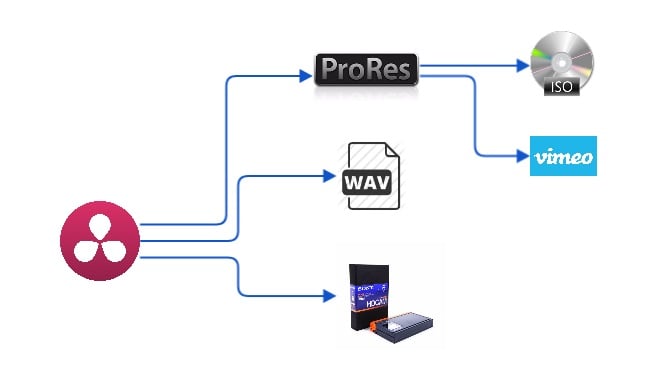
Before we can get started on the Online, we need to know what we’re going to make! You will need to know what the end product will be. Are you making a series for broadcast? Then you will need technical specifications. Don’t have a distributor yet? Then you will still need to follow industry best practices to generate a master that will serve as a highly flexible starting point to future proof potential sales scenarios. If you’ve never read through technical specs you can use these Netflix specifications as a reference.

Make sure you know where your project is going
Locked Picture
Well, technically this is Offline Editing but an important step nonetheless. Locked Picture refers to the point at the end where the story is fully flushed out and there will be no further changes to timing. Once that point is achieved the Online, Sound and VFX teams can all get started.
The reality is that there will most likely be minor picture changes after Locked Picture, so clear communication is extremely important to ensure all teams are at least working with the latest picture.

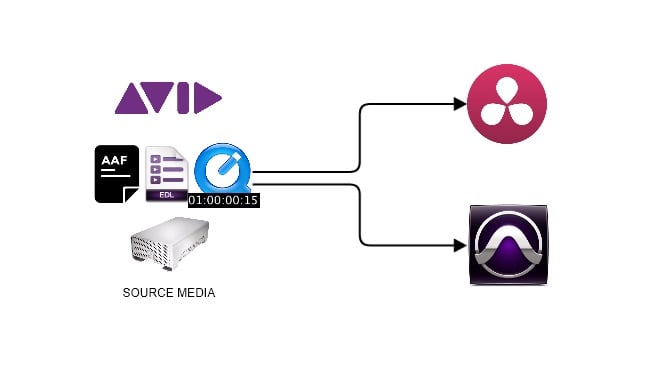
Once your edit is locked, the true offline to online process can begin
Conform
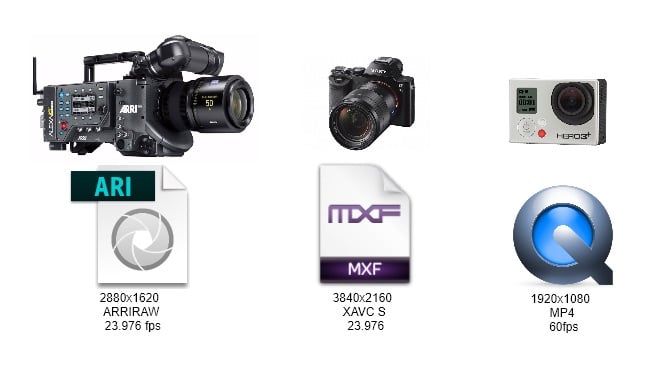
The Conform is the process of recreating the edit using high-quality source media. If your production worked off cameras like Red or Alexa, chances are the edit was done using low resolution proxies. Some productions may opt to shoot and edit in the same format, so parts of the Conform may be bypassed.
At this stage, any media that has problems needs to be flagged. If there are problems, they need to be assessed and clearly communicated immediately. Getting in front of these errors will save you headaches later. Most common issues are underexposed footage that just can’t be saved during the magic of colour correction, or an improper record setting that requires a conversion.
The actual conform can happen on many different platforms. I personally use (and love) DaVinci Resolve for the conform, but it can be done in nearly every NLE or colour suite available today.

Recreating the edit by amalgamating and using the original source media
Colour
Once the timeline is prepped and the high resolution media is online, the colourist can get to work. Not sure how long this should take? Take a look at some general guidelines.
The colourist can be either a dedicated professional or the online editor can double as the colourist. It depends on the type of program, the facility, and the budget.
On scripted features, usually the colourist will be dedicated. If a shot was inserted, or an effect needs trimming, the colourist will not be the one tending to the timeline. In many cases, colour will just be that, colour. The timeline may be absent of titles and transitions and the goal of grading is only to set looks.
I tend to work on documentaries. I have found that many of my clients get really bothered when titles or graphics are absent from the colour session so I have become accustomed to doing both colour and online simultaneously in DaVinci Resolve. This workflow allows me to pull double duty as online editor and colourist.
In lifestyle programming, often the colourist might be working right in Avid using Symphony or Baselight for Avid. This saves time if, for instance, production was shot in an edit friendly codec and there are no dailies that need relinking. Reality programs tend to be transitions and graphics heavy so recreating the timeline on another platform can be a lot of unnecessary work.

The colourist may be a dedicated individual or an editor depending on the production
Composite and FX
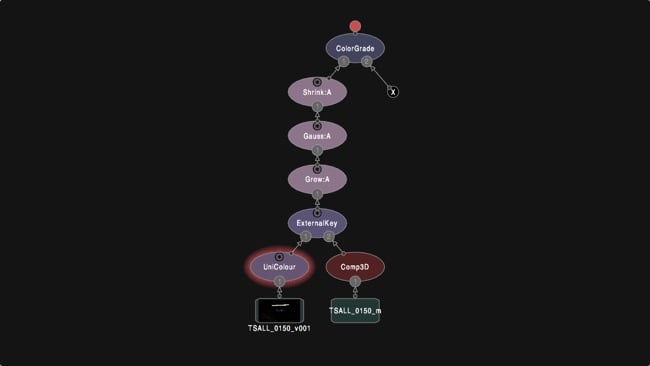
There is an understanding that complex visual effects will be handled by someone that solely does such work, but some things can be accomplished in online. About 15-25% of shots flagged for visual effects of some kind can be handled by the finishing artist. Usually, an online editor will be asked to perform effects like stabilisation, noise reduction, sky replacements and rig removal. This will all depend on the tools you are using and your skill level.
The online editor may also be responsible for sending out VFX plates to the VFX facility. These steps usually go hand-in-hand, because the online editor will have access to all used source media during the conform.

For the most part VFX and compositing will be handled be a dedicated team or individual
Titles
Titles can take up a disproportionate amount of time to organise. At a minimum, you will need head and tail credits, which you will need to coordinate with the post supervisor. You will need to coordinate with the art director if any specific fonts and style guides have been created for the show, or perhaps these things were decided upon by the offline editor. In addition, subtitles will need to be finalised in the online. You will also be responsible for delivering closed caption files and ensuring that the captions meet the delivery specifications. The captions themselves will be done by a professional, but you will need to work with her/him to meet your schedule and requirements.
Standards Conversions
I touched on this earlier and the subject is an article all on its own. Standards conversions can be tricky. We live in a world where any project could realistically be sold in a market that operates in 23.976, 24, 25, or 29.97 fps. Additionally, there are even more capture settings on today’s cameras. It is very common for an operator on set to throw up a half dozen GoPro cameras to get extra coverage of a big stunt shot, only to find out later that no one checked the record settings ahead of time.
The general rule of thumb is that you can only perform standards conversions once. If the B-camera was running in 23.976fps on a 25fps production, all that B-camera footage can be converted up to 25 reasonably easily. However, when it comes time to take your 25fps master and sell it to a 23.976 market, that’s when you need to start worrying. If you double frame rate convert material you most likely will fail a QC. Now if only a very small amount of material is in question you might be able to fight a QC fail, but if half of your program has errors you’ll need to think up a new plan.
So that’s a snapshot of my day-to-day as an Online Editor. I have the privilege to work with some great directors and get to solve some unique problems.
Do you have any tips on your Finishing workflows? Any horror stories when a master failed a QC? Feel free to share in the comments section below!
Tags: Post & VFX


Comments